Hair Chalk How To Guide
Please note this is for standard hair chalk, if you’re looking for a slightly more expensive(a few dollars) but much easier, quicker and less messy visit our How To Apply Hair Chalk With A Sealant page.
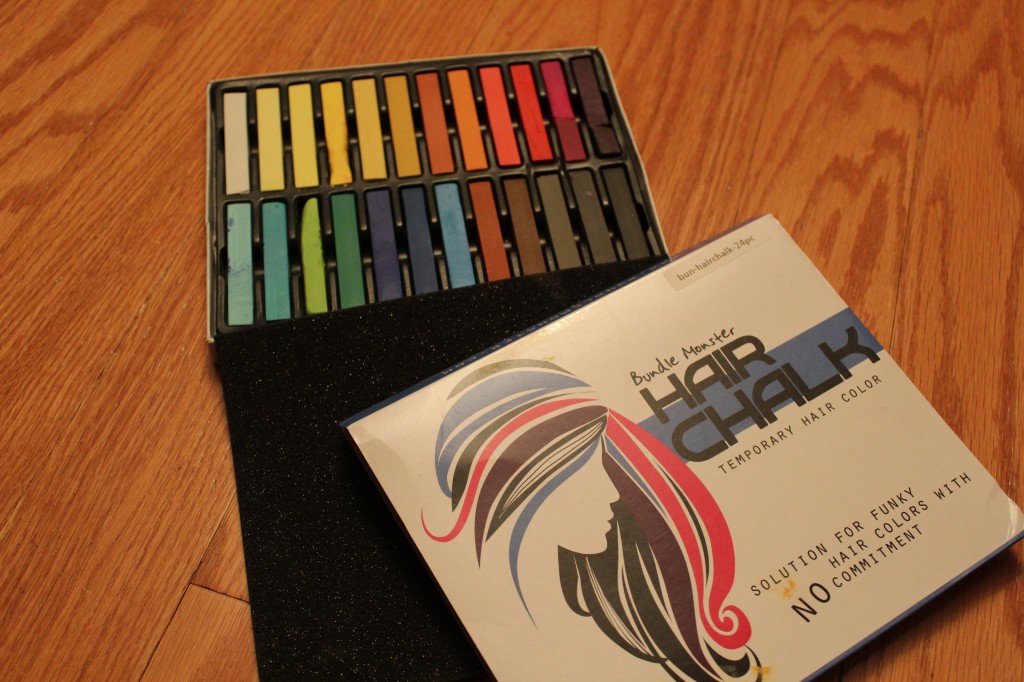
First, make sure you have the materials required:
- Hair Chalk – I recommend Bundle Monster Non-Toxic Temporary Hair Pastel Chalk Beauty Kit – Mix Color Variety Beauty Design, 24pc
but any Hair Chalk will do.
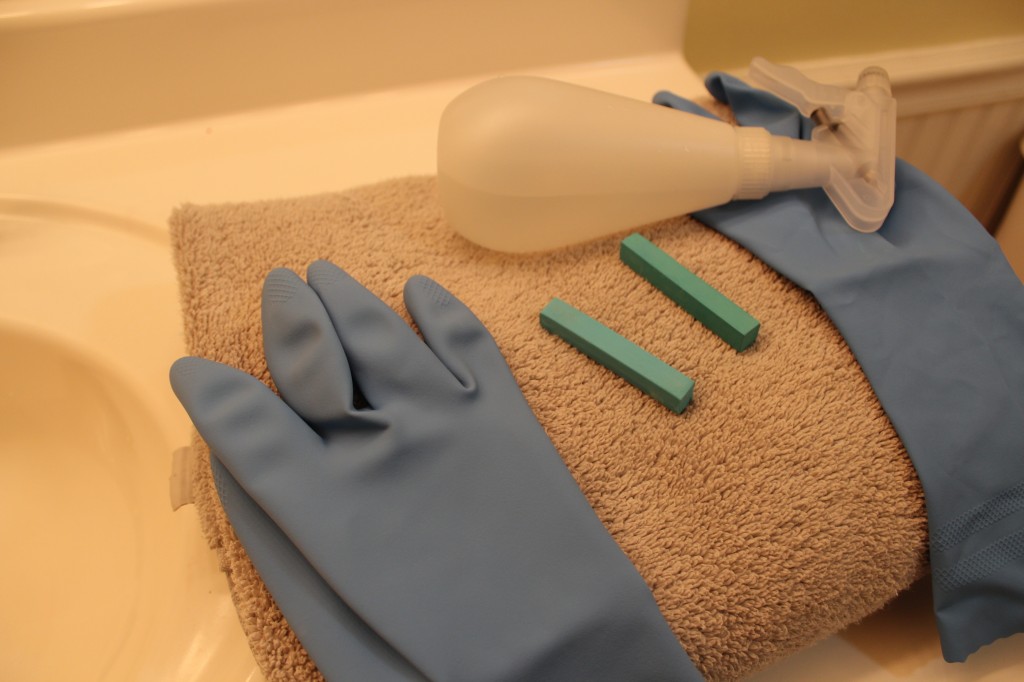
- A Small spray bottle with clean water
- A Flat iron
- A Pair of Rubber Gloves
- An Old Towel
- Clean dry hair
PREPARATION
Once you have collected all of your materials, head into a bathroom with a mirror to get started.
First, make sure that your hair is clean, dry and does not have any type of hair product in it. Gel, Hairspray, Detangling Spray, etc. will all make it so that the chalk WILL NOT adhere to your hair.
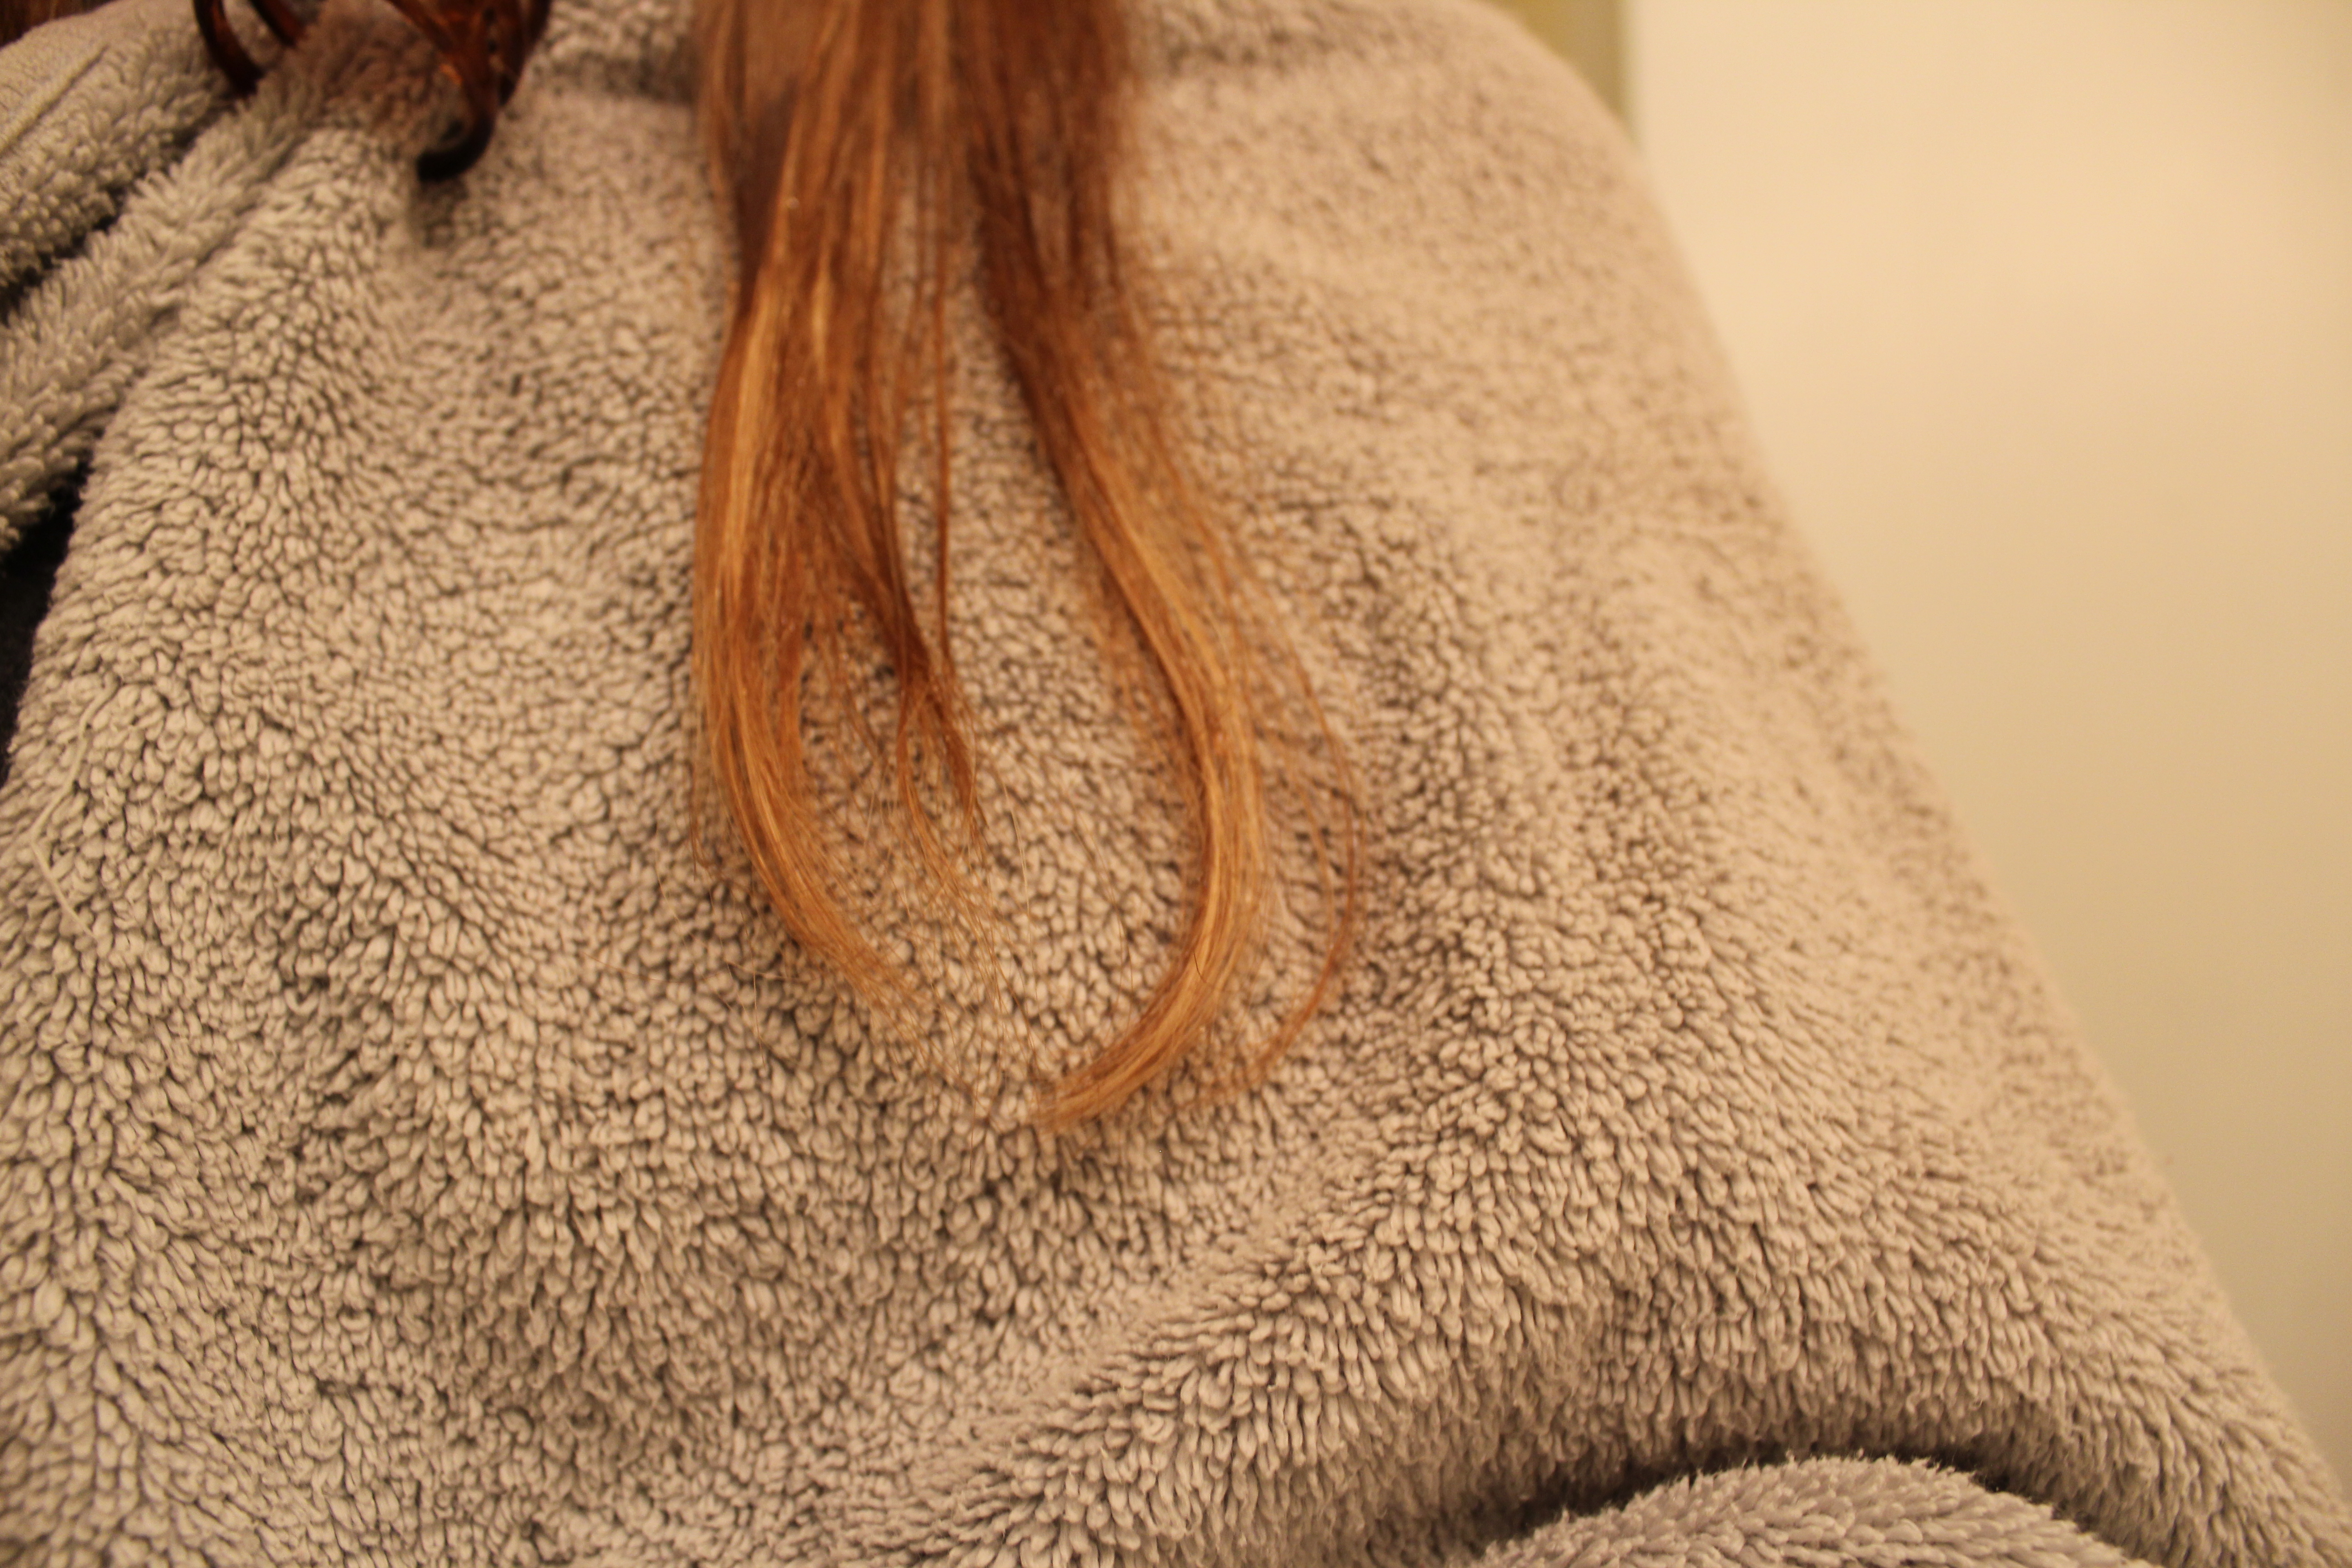
Place the towel around your shoulders to avoid getting any chalk on your clothing/body.
Get your hair chalk ready, pick out the color(s) you want to use and take them out of their packaging (this will be much harder to do once you have gloves on so this makes it easier).
If your spray bottle does not already have water in it, then fill your spray bottle with clean water.
Put your gloves on to avoid dyeing your hands.
COLORING YOUR HAIR
1) Grab a 1 inch section of hair, place the chalk where you want the color to start -typically either at the root if you want to cover the entire strand of hair, or about 3″ to 4″ from the ends if you’re just coloring the tips of your hair.
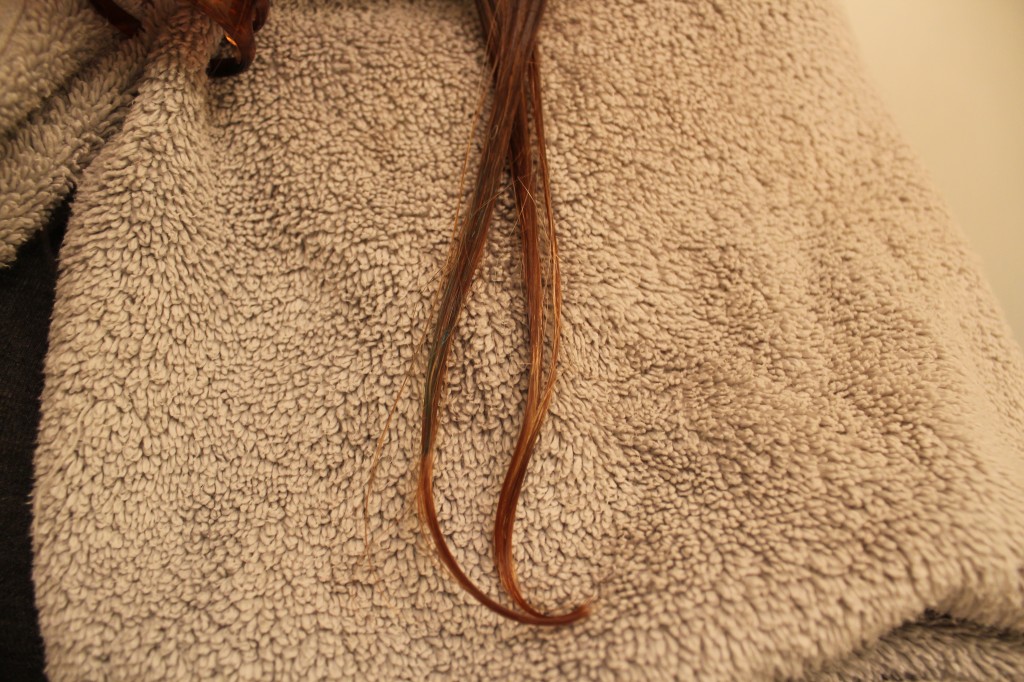
2) Take your spray bottle and wet your hair on the section that you are wanting to chalk.
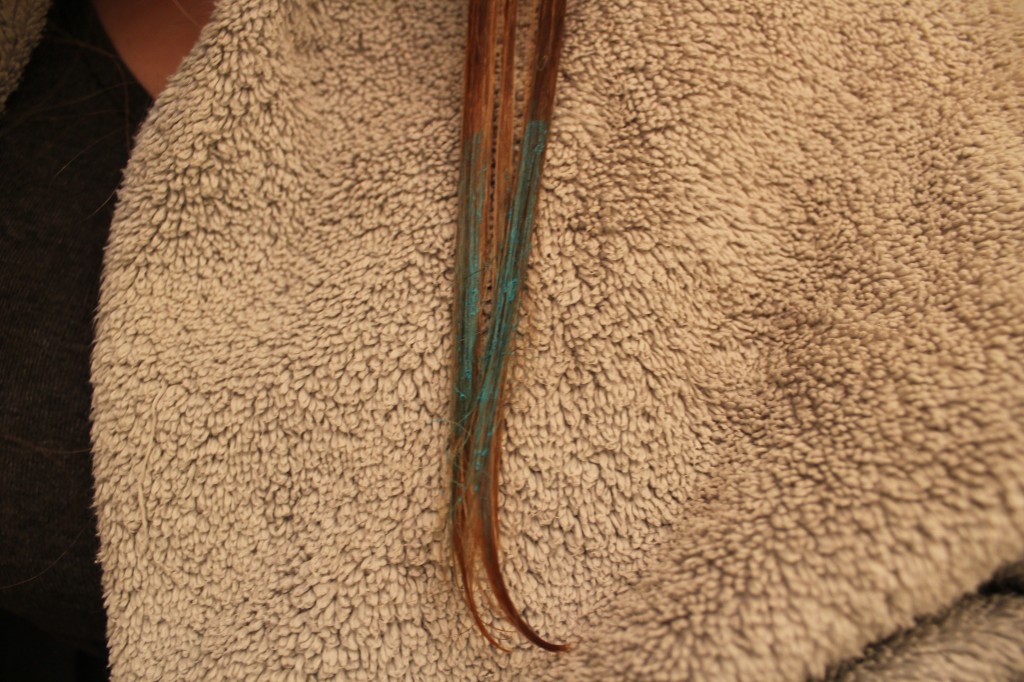
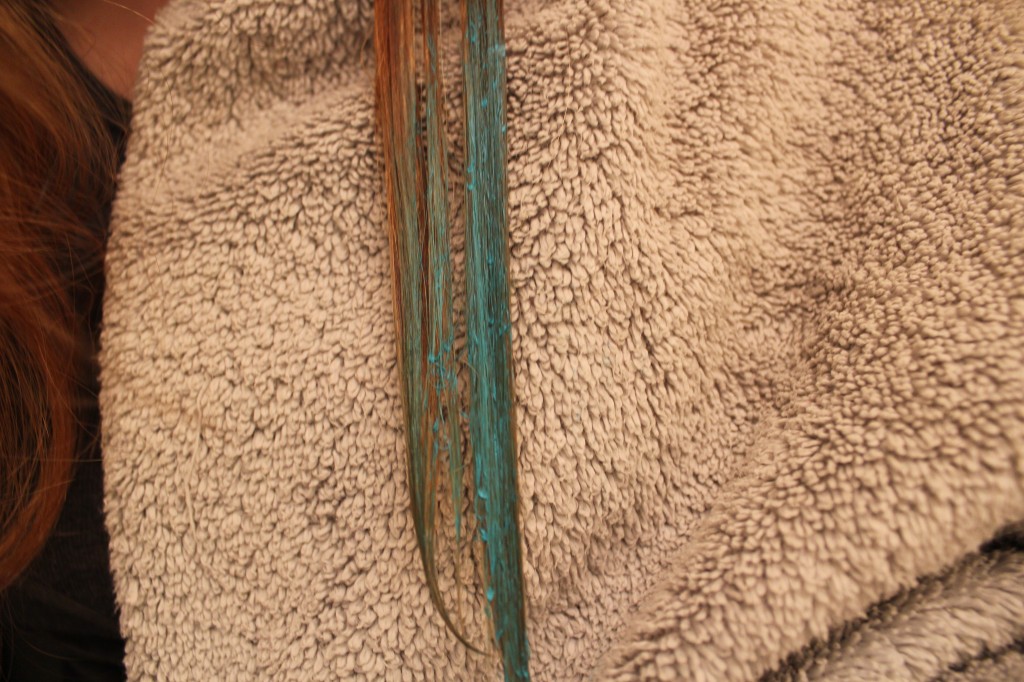
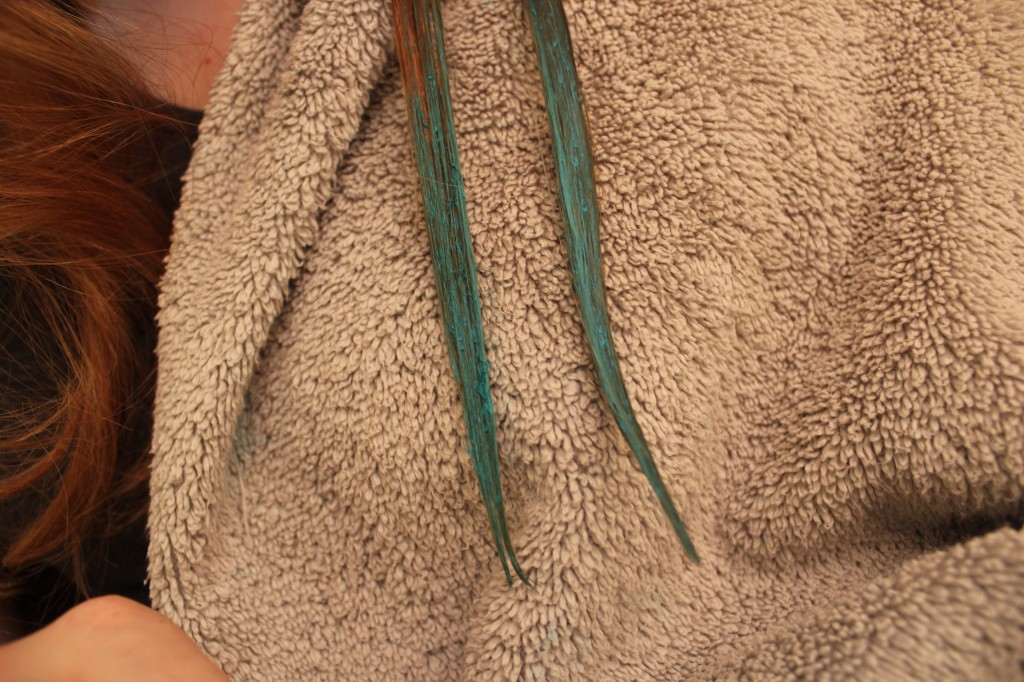
3) Starting at the top of the section you want to color press down with the chalk against the hair and pull down through the end of the section you want to color. DO NOT go up and down the strand of hair, go from top to bottom and keep repeating. As you can see in the photos below, you’re not going to get amazing color in just one swipe, it will take a few swipes to get the color correctly applied.
4) Allow the Hair Chalk to AIR DRY completely before proceeding. Do not try to brush it through or dry it with a hairdryer. There will be some material left on your hair initially, just give it time to dry.
5) Once your hair is completely dried, go over the section of colored hair with either a flat iron or a curling iron to seal in the color.
And that’s it!! Once you do it a few times it will become easier and more intuitive, and once you feel comfortable there are tons of color combinations and styles to try, the possibilities are limitless!
If you have a photo of your hair chalked we would LOVE to see it! Post a comment and photo below, it may even end up in our Hair Gallery.
Happy Chalking!