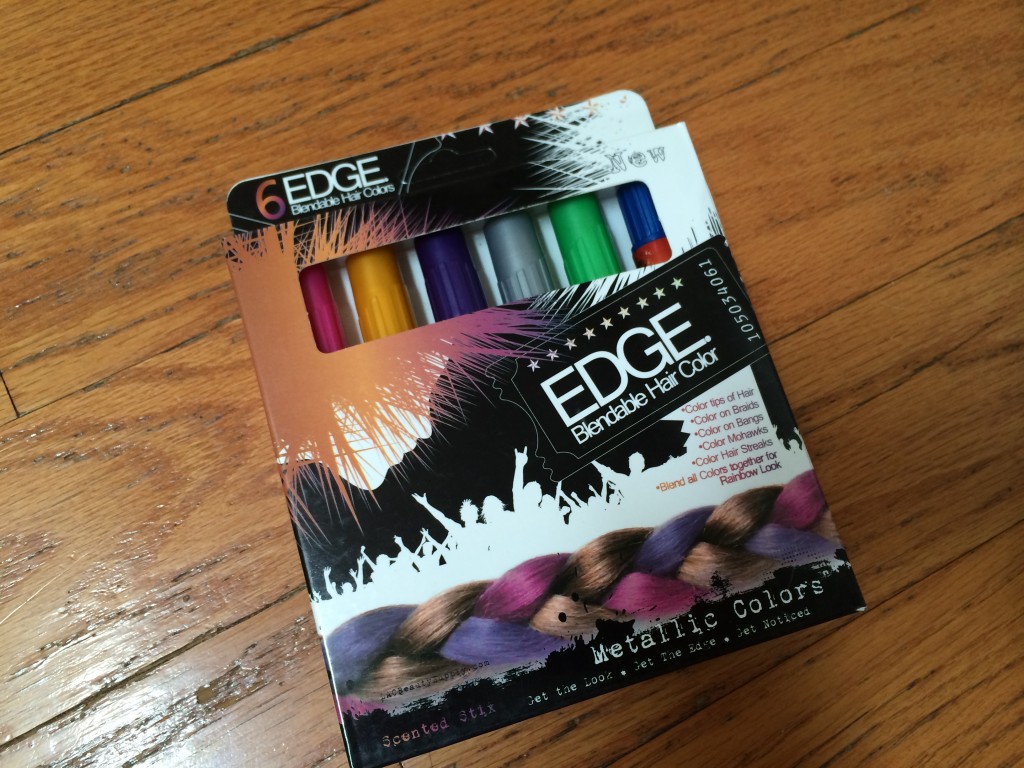
If you want to learn how to apply standard hair chalk you can view those instructions here. These instructions are for a different form of Hair Chalk with sealant, think of them more as Hair Crayons. We have tried and love Hair Chalk | Metallic Glitter Temporary Hair Color – Edge Chalkers – Lasts up to 3 Days, No Mess, Built in Sealant, 80 Applications Per Stick, Works on All Hair Colors-6 COUNT.
Hair Chalk With Sealant How To Guide
First, make sure you have the materials required:
- Hair Chalk with a built in sealant – I recommend Metallic Color Stix – Edge Blendable Hair
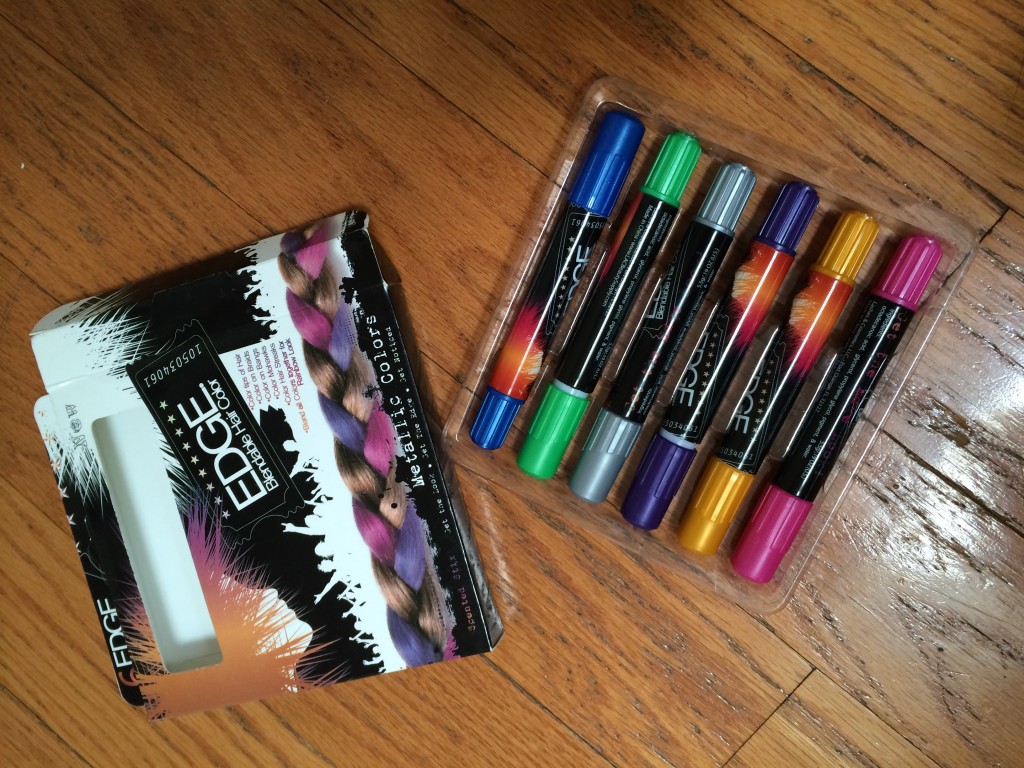
Out of the packaging so you can see what it looks like.
PREPARATION
Grab hair chalk with sealant and head into the bathroom or somewhere brightly lit with a mirror.
First, make sure that your hair is clean, dry and does not have any type of hair product in it. Gel, Hairspray, Detangling Spray, etc. will all make it so that the chalk WILL NOT adhere to your hair.
Pick out the color(s) you want to use and take them out of their packaging.
COLORING YOUR HAIR
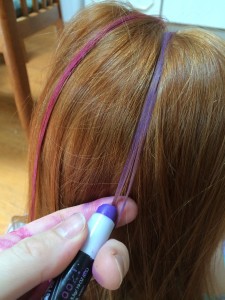
1) Grab a 1 inch section of hair, place the chalk where you want the color to start -typically either at the root if you want to cover the entire strand of hair, or about 3″ to 4″ from the ends if you’re just coloring the tips of your hair.
2) Grasping the hair with one hand use your other hand to apply the hair chalk by starting from the highest point of the section of hair you wish to color. Color from the top down and pull down through the end of the section you want to color. DO NOT go up and down the strand of hair, go from top to bottom and keep repeating as needed.
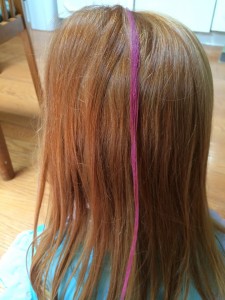
3) The advantage of using this type of Hair Chalk is that it does not take nearly as much effort as standard hair chalk to apply. The photo below was after just a few swipes with the hair chalk. **Note** Although I did get the chalk on my hands it washed off easily with soap and water. I’d advise washing your hands right away when you’re done, or to be extra cautious you can still wear gloves.
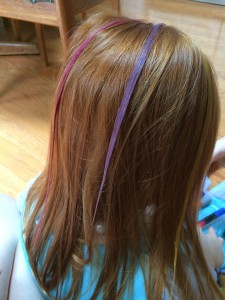
4) Allow the Hair Chalk to AIR DRY completely before proceeding. Do not try to brush it through or dry it with a hairdryer. There will be some material left on your hair initially, just give it time to dry.
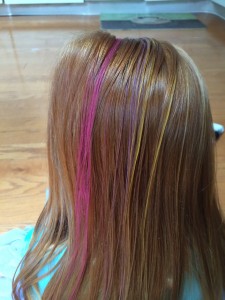
Finished Hair Chalk Application, Quick and Easy! See next photo for what it looks like after brushing.
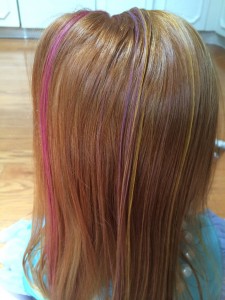
This is after LIGHTLY brushing through with a hairbrush. Not as dramatic as the prior photo but still looks great!
Happy Hair Chalking!